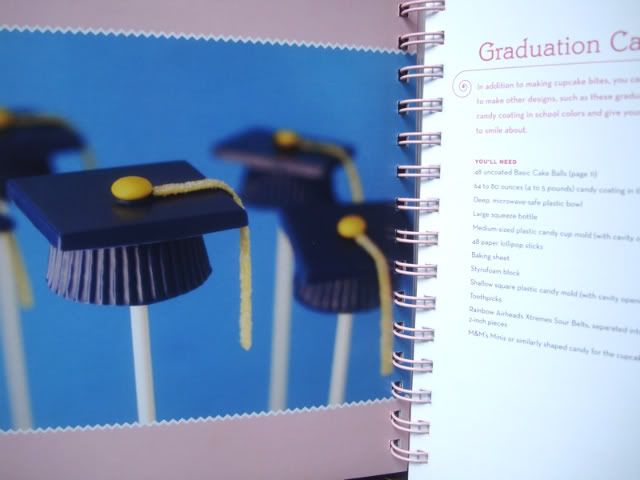
Adorable right??
Looks easy enough....
hmmmmm.......
I struggled a little with these guys.
Here's the scenario: My dear friend at work, Pauline, has a son who is graduating this year. He's had a great high school career at Skyline, in Sammamish.
He's a smart kid, popular, and a member of their 3-time state championship football team.
In the fall, he will be attending the University of Oregon.
I was more than happy to make cake pops for Christopher's graduation party. Pauline and I decided to do them in green and yellow to represent his future college.
I gathered my supplies:
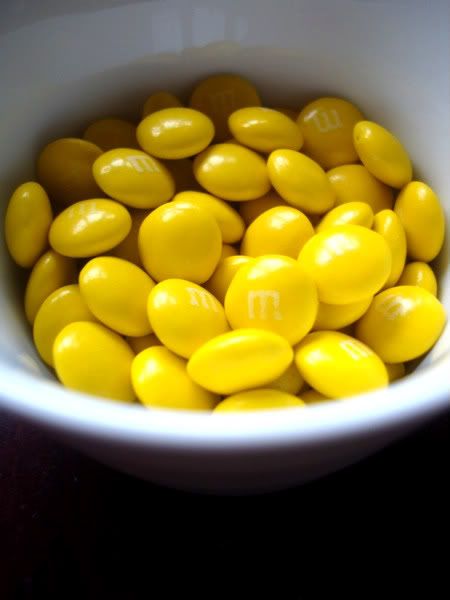
yellow M&Ms for the hats
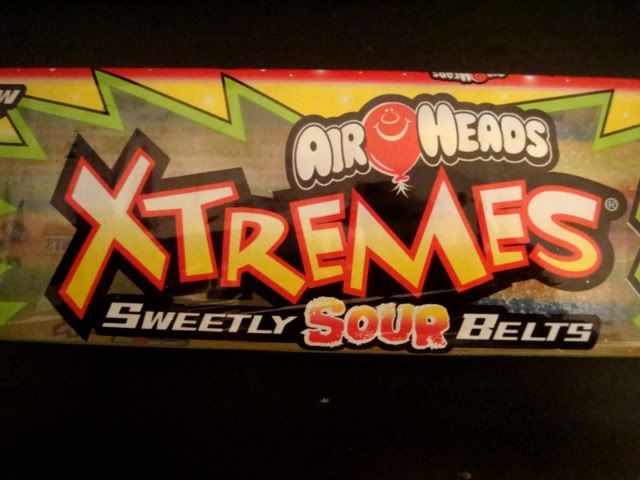
Airhead Extreme Sour Belts for the tassel. I cut the yellow section out.
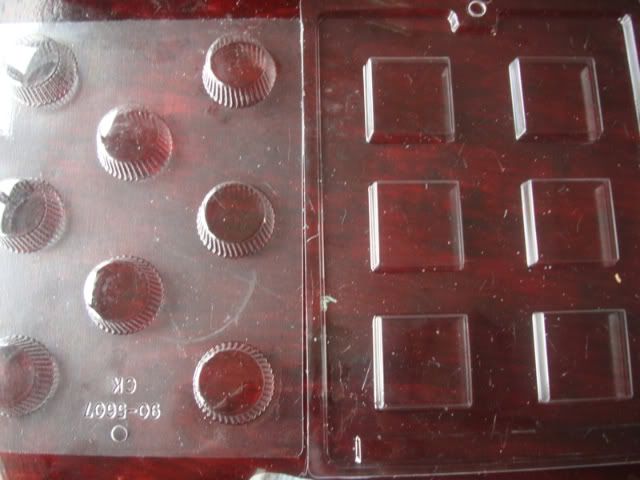
Candy molds. Round and Square.
Trusty guide book.
I made my cake pops as I have before. Christopher likes yellow cake, so I combined that with cream cheese frosting. This part of the process went well.
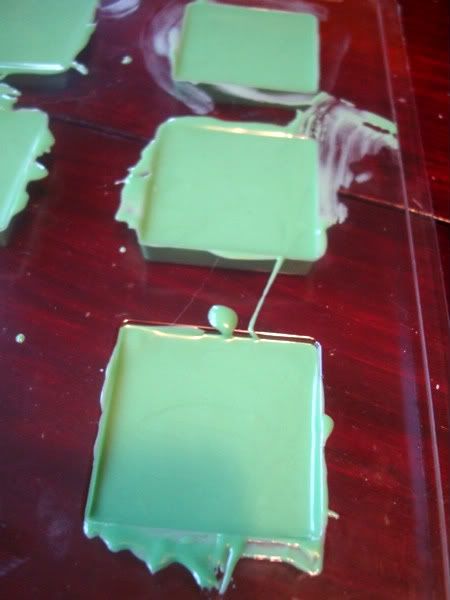
Since the tops of the hats needed a lot of candy, I decided to make those first.
Since the tops of the hats needed a lot of candy, I decided to make those first.
Looks messy right?? sort of was, but they filled right up and I put in the freezer to harden up.
Now onto the base of the hats. I filled the mold with green candy melts and then proceeded to fill with the cake ball. This didn't go so smooth! The standard size cake ball is way too big for his hat! It needs to be flat on the exposed side to simulate the bottom of the hat.
I didn't know how to make it flat! I also really struggled with getting the candy melts to completely cover the cake ball. Yellow cake kept showing through!
It would be un-lady-like of me to tell you what was happening in my kitchen during this time. Let's just say it involved several 4-letter words and temper tantrums.
Sensing my frustration, Darling Husband came to my rescue. He offered many suggestions and was helping me brainstorm ways to make these darn things work!
He helped me to fill the candy mold very full. We placed the cake ball in the candy melts and let it sit. Once the candy was dry, we cut the exposed part of the cake ball with a very sharp knife, then covered it with the green candy melts and immediately inserted the lollipop stick.
Finally!
Success!!
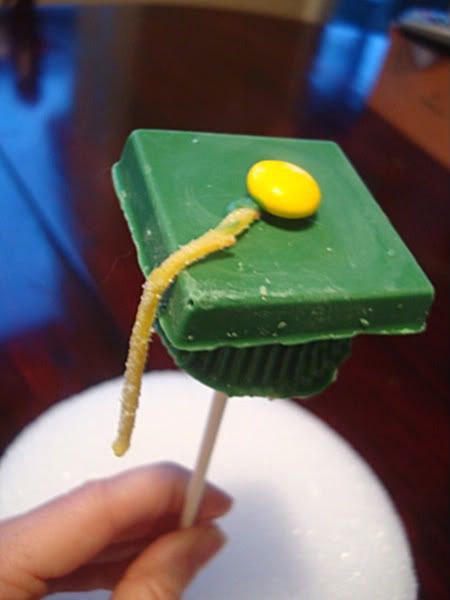
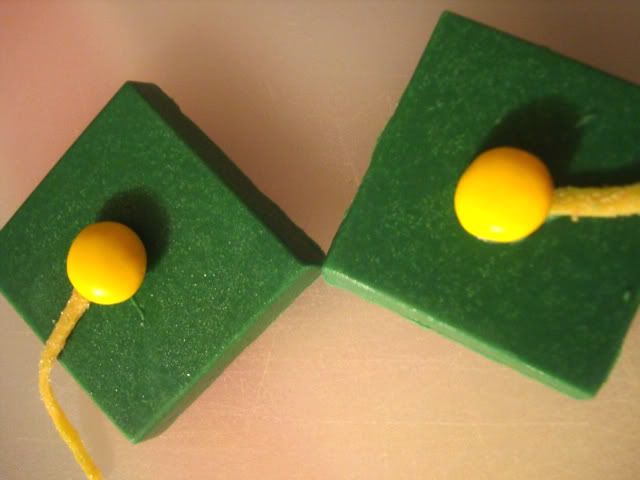
For the tops of the caps, I used a little of the candy melt to attach the M&M and the Airhead rope.
I then attached the top to the base with another little bit of candy melt.
DONE!
Here's a few tips if you decide to do these:
You will need a LOT of candy melts. The tops of the hats are thick and require a lot of candy.
Get several bags. More than you think you need. Or else you'll be running to Jo-Ann 30 minutes before they close, with no make-up, hair in a crazy ponytail, and basically wearing your pajamas...Not that I would EVER do this!
Make the cake balls smaller than you think. When you think they are small enough, decrease the cake, and then decrease it even more.
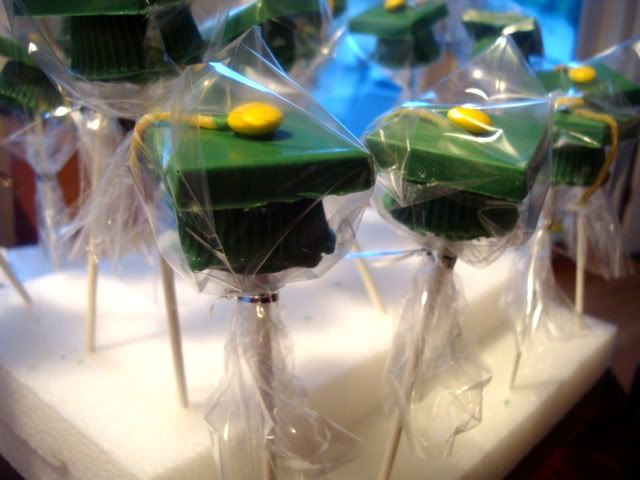
If you decide to cover them with treat bags you will need the large size. The top of the hats are very large and will not fit in a regular size.
Know that you are making these for someone who is very special to you. If you put your heart into them, they will turn out!
In the end, these cake pops did come together. Were they as perfect as Bakerella's?
um...no.
For my first attempt, not bad! I'll be ready to do them again...I've got a year!
Congrats to all the 2011 graduates!
A special note of good luck to my friend Pauline and her son. She and her husband Chuck have raised an amazing young man and I can't wait to see what the future holds for him
Good luck Christopher!

Very cute!
ReplyDeleteThese are awesome for the first attempt! None of the frustration nor problems you had show in the finished product. I am sure that Christopher and his family really enjoyed them.
ReplyDeleteAlex, you are a creative genius! These are just adorable!!!!
ReplyDeleteTamara at BuzzFood: http://buzzfood.blogspot.com
Albert!!!! Other than using Oregon colors........ Just adorable!
ReplyDeleteEve
Um, WOW! I can't believe you made these - what a feat! They look so professional :)
ReplyDelete