Hi everyone, we have some excitement here at Y&L today!
It's a double dose of adorable as we are posting about Cake pops and BFF Nikki is our guest blogger! See what I mean, CUTE!
FYI, the word cute is bound to be used about 136 times in this post. You have been warned.
If you didn't just look at that and say "CUTE!" Look again.
Seriously.
We're talking puppies and baby feet cute here.
You may have been seeing a lot about cake pops in recent months. Especially thanks to this lady
You can even buy them at Starbucks to go along with your third coffee of the day! (or is this just me??)
BFF Nikki and I have basically worked cake pops into our daily conversations: "so..how are you doing today Miss Cake Pop?" Pretty soon you will be doing so also....just follow along!
You can even buy them at Starbucks to go along with your third coffee of the day! (or is this just me??)
BFF Nikki and I have basically worked cake pops into our daily conversations: "so..how are you doing today Miss Cake Pop?" Pretty soon you will be doing so also....just follow along!
If you plan on making cake pops to display you will need something to display them in. One of the best and easiest ways is a styrofoam block. You can find this in the floral section of your craft store.
Really the first step is preparing your styrofoam. I just grab one of my lollipop sticks and go through and poke holes that I will later fill with my pops. Do this first. You don't want to have to try and shove a recently covered cake pop through styrofoam. Space them enough so that your pops can be inserted without touching each other.
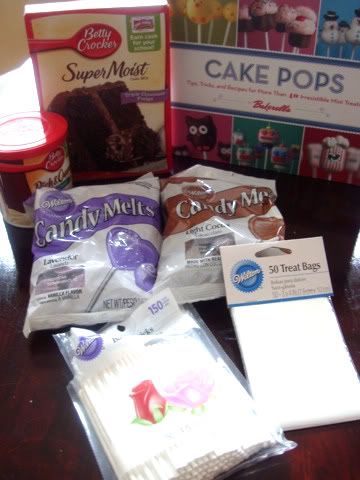
You really only need a few ingredients and you can be as basic or complex as you like!
1 box cake mix
1 tub frosting
You really only need a few ingredients and you can be as basic or complex as you like!
1 box cake mix
1 tub frosting
*Note on this, I generally think tub frosting is not so good..I used to eat it
Melting Chocolate, Lollipop sticks, and treat bags for wrapping. All can be found at any craft store.
Bake your cake according to directions on the box for a 9x13. Allow to completely cool. You can bake your cake a day ahead, which I have found to be the best method.
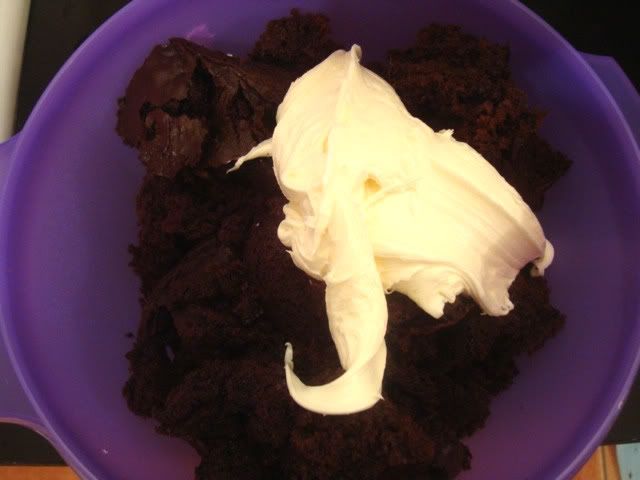
Crumble the entire cake into a big mixing bowl and add 1/2 to 3/4 of the frosting. You can use any cake/frosting combo you like. I have mostly done chocolate with cream cheese frosting.
Mix the frosting completely into the cake. You can use a big spoon, but I like to use my hands..more of a mess.
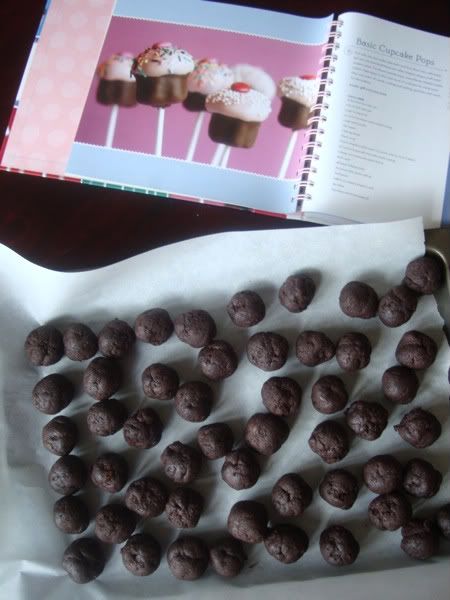
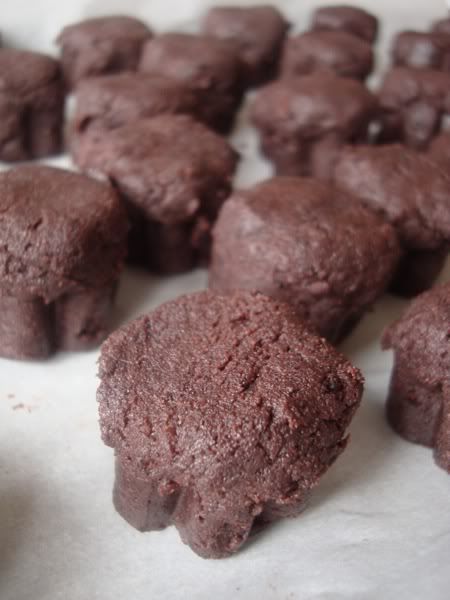
Once these are combined start rolling your cake balls. Place them on a lined cookie sheet and chill in the refrigerator (freezer if you are short on time) for an hour or so.
If you want to just make cake bites and skip the sticks, just drop these in your melted chocolate and dish out with a spoon.
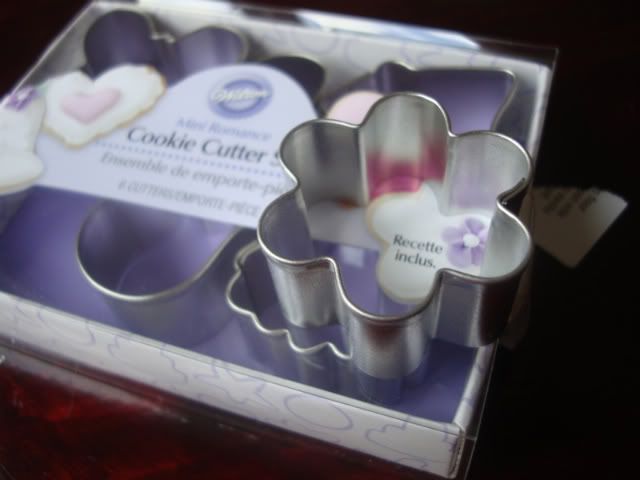
To form your cake balls into the mini cupcake shape, you will need a cookie cutter. I purchased this set at the craft store. You will push your cake ball into the cutter and then form your top. This size cookie cutter did need a larger sized cake ball.
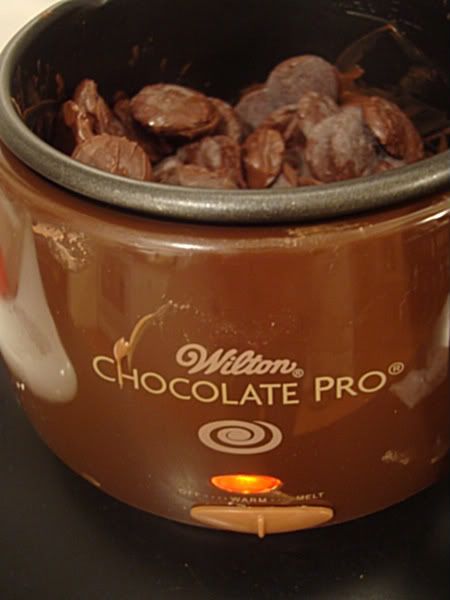
It is perfectly fine to melt your chocolate in the microwave. I purchased this little gadget because I need more stuff crowding my kitchen
If you plan on doing cake pops pretty frequently, I think this is a good investment. Use a coupon and you can get it for under $20. It keeps the heat even and you don't have to worry about reheating your chocolate.
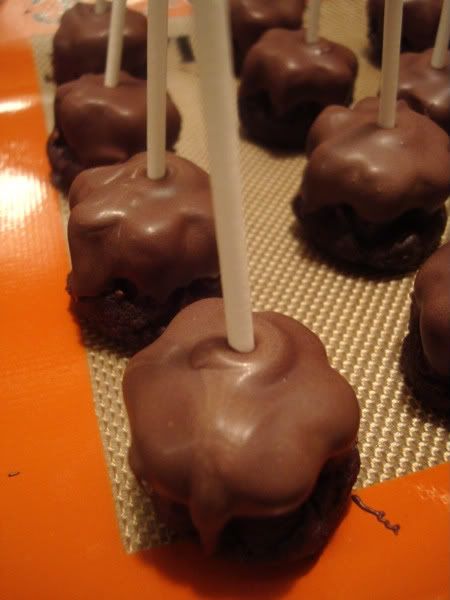
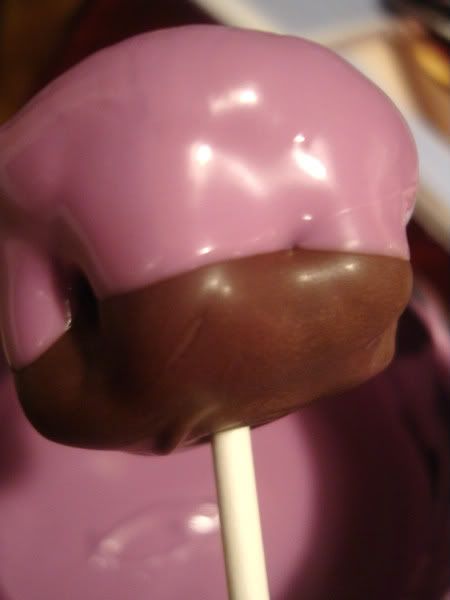
The section of the cake ball that you formed into your cupcake base will need to be dipped in the chocolate. Holding the cake ball by the rounded top, dip the cake ball into the chocolate until it just reaches the rounded top. Place the dipped cake ball onto your lined baking sheet facing up.
You are now ready to insert your lollipop sticks. Before you place the lollipop stick in your cake ball, dip the tip of the stick into your melted chocolate. This will help the cake ball stay on the stick. Insert the dipped lollipop stick in the cake ball, about 3/4 of the way through, making sure to not push the stick all the way through.
Continue until all of your cupcakes have a covered base. By the time you finish dipping your cake balls into the first round of chocolate, your first dipped treat will have hardened. The chocolate does harden pretty quickly.
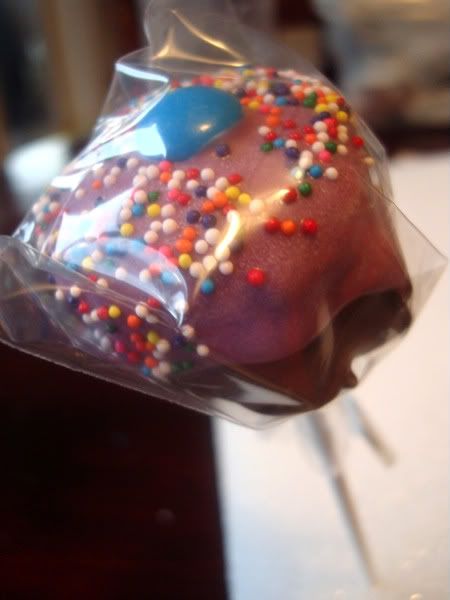
You are now ready to do the cupcake top! I used my Wilton Chocolate Pro again, filing it with purple candy melts. Now that the lollipop stick has been inserted, you have a pretty easy handle for dipping. Dip the rounded top of the cake pop until it just reaches the chocolate. If you find there are a few little gaps, you can easily use a toothpick to push around the colored chocolate.
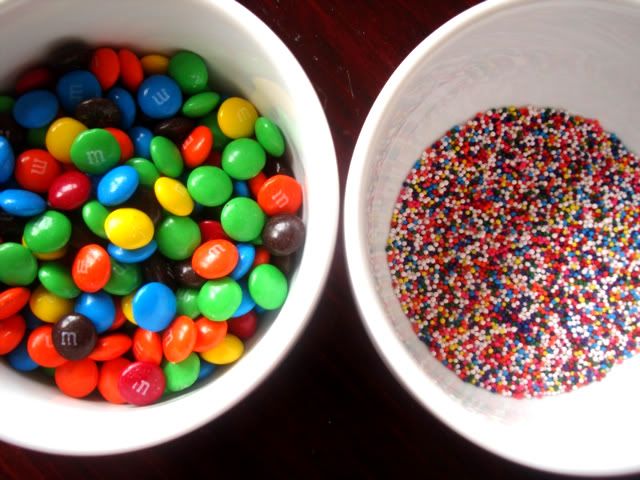
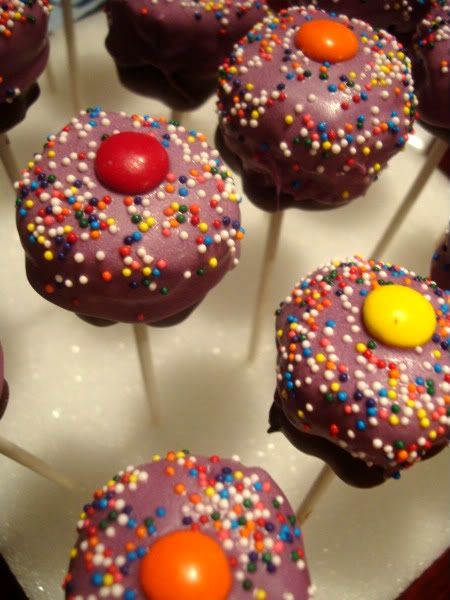
You will want to immediately start adding your candy and sprinkles. I added M&Ms (M side down) then little sprinkles all over. You can really do whatever you like at this point. I think it would look especially cute if you had a white cupcake.
After you have your little cupcake decorated, stick it in your prepared styrofoam block and let it harden.
A great way to present these is wrapped in a little treat bag and tied with a twist tie or a ribbon. This also makes them very easy to transport.
I took these to work for Administrative Professional's Day and I think they were a hit! They are hard to resist.
Nikki's little chickie cake pops are just so adorable! After she gifted me with some, I was instantly inspired to do something cute, which led me to the mini cupcakes. While her finished product was great, it took some work to get there.
I'll let her tell you.....
I was introduced to cakepops last Summer at my girlfriend's baby shower. Her sister's co-worker had made these adorable ladybug pops and they were so cute that I hardly wanted to eat it. I didn't even realize the moist (I know, bad word, but I just need to use it to describe these) and cakey goodness that was inside of the decorative chocolate outside. My own co-workers started making them at work and soon I was ordering Bakerella's Cakepops book for myself.
I started off with traditional round cakeballs (cakepop without the stick) and round cakepops. Bakerella offers many fun and different suggestions for cakepops.
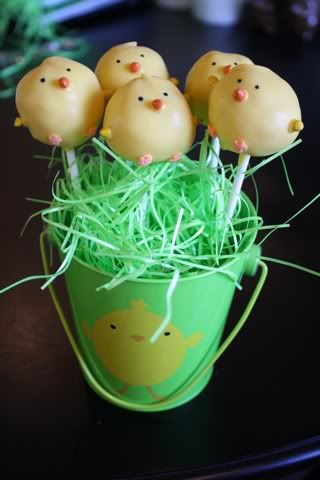
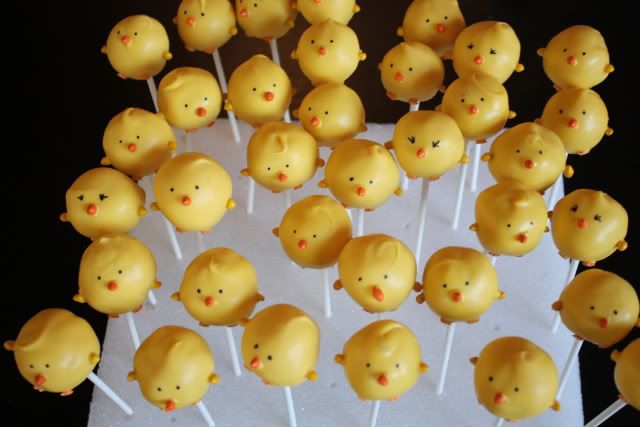
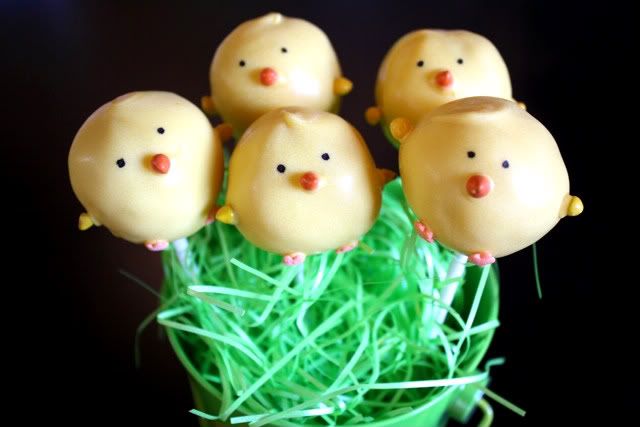
With Easter coming up recently, I decided to make the "chick" cakepops. The next step after deciding that I was going to create these for Easter was finding the right sprinkles to make the beaks, wings and feet for the chicks.
I went to 4 different stores before finding the correct sprinkles (I finally found them at Joann Fabrics and the Home Cake Store-located in N. Seattle-the store is scary and fabulous at the same time!). Then I had to sort out the yellow and orange sprinkles!
I chose to do vanilla cake and vanilla frosting (because I know my BFF Alex loves contrasting flavors (inside joke!)) and yellow vanilla candy melts for the chick cakepops.
The cakepops themselves were straightforward, but decorating them to look like chicks was the time consuming portion. I had to painstakingly attach one orange rainbow chip for the beaks, two yellow ones for the wings and two orange wildflower sprinkles for the feet. The last step was making two little black eyes with an edible marker.
I was very pleased with the result, but was tired after the endeavor.
Great job Nikki! Those little chicks were almost too cute to eat......almost.
As you can see, cake pops can be so diverse. They are fun, but like Nikki mentioned they can be time-consuming. The good thing is the effort you put in does not go unnoticed! Such a nice little treat for parties, showers, or to share with your good friends (hint, hint, more please Nikki!)
I recommend everyone try to make some cake pops. Start with just the regular cake pops and then think about getting advanced. You'll be hooked!
Nikki mentioned that she went to the Home Cake Store, here in Seattle, for some supplies. I recently went there also and wow...it's a hoarders paradise! The store is literally packed everywhere you look. I was in Heaven! I bought sprinkles, and cupcake papers, and sanding sugars, and decor for cupcakes. I can hardly wait to go back! If you live in Seattle and enjoy baking, you should go there..you'll see me digging through the sprinkles!
I'm so grateful to BFF Nikki for contributing to this post. I knew everyone would love her cake pops. I know she has received so many compliments on them! I mean, cute right?!!? Nikki does everything from the heart and these cake pops are no exception.
I believe good food should be shared with good friends (not my portions of course) and I hope to be writing with Nikki again very soon! (with some cake pops to eat of course!)

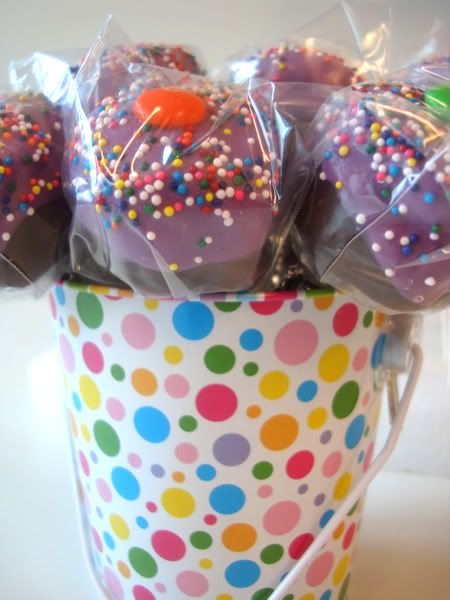
Yay! The cake pop blog turned out great! Your cupcake cake pops were adorable and I love the polka dot tin you found!!! Target? Thank you again for letting me contribute. I'm looking forward to more cooking and eating endeavors with you! Xoxo
ReplyDeleteHi Alex,
ReplyDeleteIt was great meeting you at the bake sale at Met Market! Your cake pops looked so good! Hopefully we will meet again at another event.
Alli from An Open Cookbook